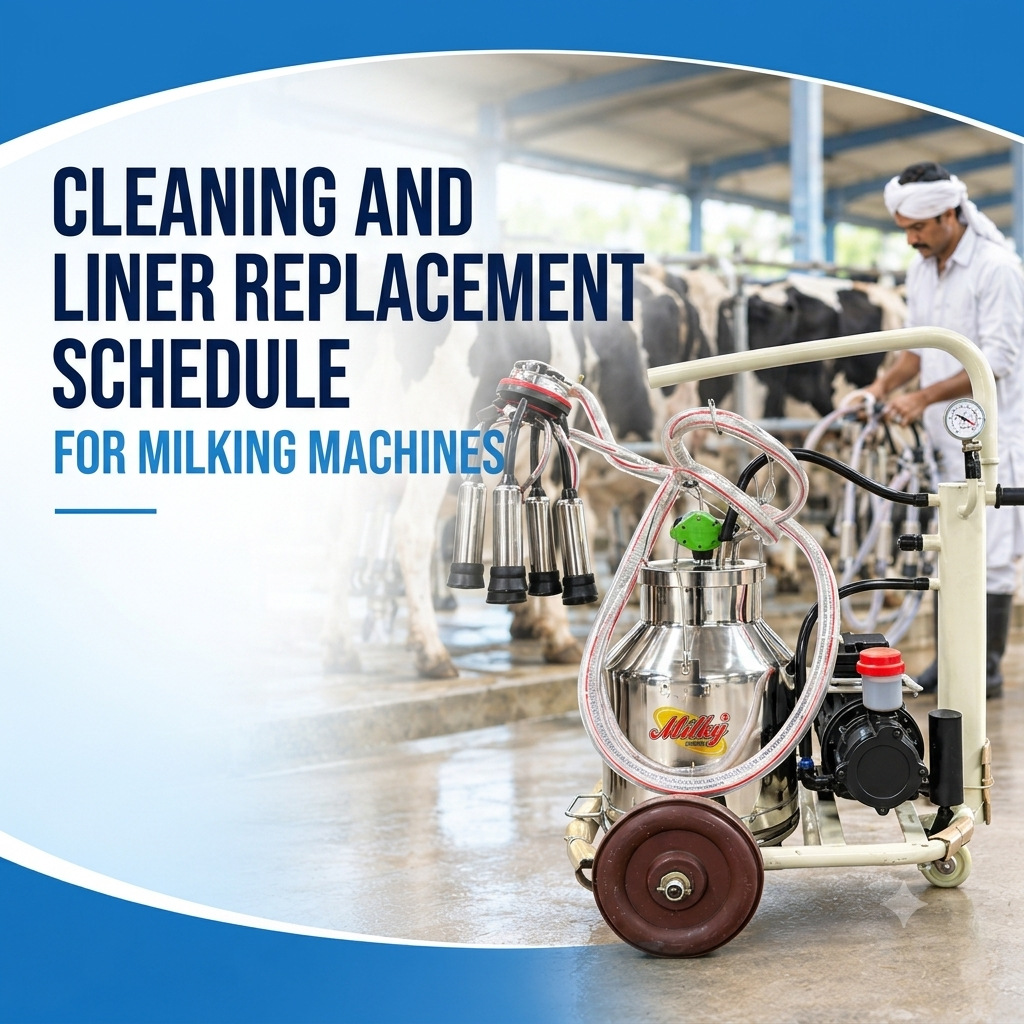
What Should Be Included in a Milking Machine Cleaning Schedule?
Keep four jobs separate: cleaning (removing milk residue, fat and protein with water, detergent and mechanical action), sanitization (reducing remaining microorganisms, which extension guidance places just before milking), inspection (a visual check for residue, odour, cracks or deformation) and replacement planning (tracking wear parts such as liners). For each task, record the component, the timing, who did it and the date. Some farms call this a washing routine; the schedule simply records it.
| Timing | What it covers | Source of the frequency |
|---|---|---|
| After each milking | Rinse, wash, post-rinse and acid rinse as specified; drain and dry | Machine and detergent instructions |
| Before the next milking | Confirm parts are drained, dry and correctly assembled; sanitize if required | Your machine’s procedure |
| Periodic | Scheduled intensive washes, such as alkaline or acid cycles | Machine or chemical manufacturer |
| Record review | Read the cleaning log and liner log together | Proposed routine; weekly is a suggestion, not a standard |
Step-by-Step Cleaning Routine After Milking
Follow the machine manual and detergent label first. University extension guides for pipeline and portable units describe the same basic order: rinse, wash, post-rinse, acid rinse.
- Rinse at once. Purpose: flush milk before it dries. UC Cooperative Extension notes that rinse water that is too cold lets milk fat deposit, while water that is too hot can set protein films, so use the range your manufacturer gives.
- Wash with dairy detergent. Purpose: dissolve fat and protein. Measure the product exactly as labelled and never improvise chemical mixes.
- Post-rinse. Purpose: remove detergent before the acid step. Drain each solution fully before starting the next.
- Acid rinse. Purpose: prevent mineral build-up (milkstone, which UC Extension notes gives bacteria a surface to grow on) and neutralise alkaline and chlorine residues, according to UF/IFAS Extension.
- Drain, dry and store. Hang liners and shells so water runs out, as your manual allows, then store parts clean and covered.
- Sanitize before the next milking where your procedure requires it.
Check the result. Look inside the receiver jar, hoses and liners for film, and smell for sour or detergent odour. If your procedure uses an acid rinse, test its pH as directed; UC Extension describes a pH of 3 to 4. For the full milking-day routine, see our milking hygiene and sanitation procedures.
Document each session. Note the date, which milking it followed, the parts cleaned, the product used, who completed it, and any residue or damage seen. One line per milking is enough. If your manufacturer specifies a periodic intensive or descaling wash, add it to the schedule with its date.
Cleaning Checklist for Milking Machine Components
| Component | Cleaning Action | What to Check | Important Precaution |
|---|---|---|---|
| Liner (bore and mouthpiece) | Run rinse and wash solution through the bore; clean the mouthpiece edge | Smooth, film-free bore; no rough patches | Avoid abrasive tools that scratch the surface |
| Teat cup shell | Rinse and wash inside and out | Residue near the liner mouth and milk-tube exit; dents or cracks | Drain upside down |
| Short milk tube and claw | Circulate solutions through; clean the claw openings | Milk film; blocked air vent, if fitted | Clean the air vent only as the manual describes |
| Long milk hose | Flush with every solution in sequence | Residue, odour, stiffness, cracks | Avoid kinks while draining, since trapped liquid stays inside |
| Bucket or receiver jar, lid, gasket | Dismantle and wash every surface, including the gasket | Residue under the gasket and lid rim | Reassemble only when dry |
These precautions are general good practice. Confirm them against your machine manual.
How to Create a Milking Machine Liner Replacement Schedule
Published limits differ, so no single number fits every farm. Teagasc, Ireland’s agriculture and food development authority, recommends changing liners after 2,000 milkings or six months, whichever comes first. DairyNZ’s 2,500-milking guidance is quoted by liner manufacturer Skellerup, and Lely, a robotic milking manufacturer, lists separate limits for rubber and silicone liners in its systems. Material, liner design, cleaning chemistry and workload all affect service life, so take the limit from your liner supplier’s documentation for the exact liner model.
To estimate a replacement date:
- Record the manufacturer’s limit (milkings, months or both).
- Record the installation date.
- Work out milkings per unit per day: cows milked × milkings per day ÷ number of units.
- Divide the limit by that figure to get the days to the limit.
- Set a review date before that day. If the manufacturer gives both limits, plan to whichever comes first.
Hypothetical example, not an industry standard: If 12 cows are milked twice daily across two milking units, and both units share the workload evenly, each liner set is used approximately 12 times per day. If the manufacturer’s specified limit were 1,500 milkings, the liners would reach that limit in approximately 125 days (1,500 ÷ 12). Scheduling a review at around 110 days would provide an illustrative early-check margin, not a standard requirement. Track actual usage where possible and follow the manufacturer’s specified replacement limit, including any calendar-based limit.
How to Maintain a Milking Liner Replacement Log
Keep one line per liner set:
| Field | What to enter |
|---|---|
| Machine ID | Unit or cluster number |
| Liner type or model | Exact part reference and material |
| Manufacturer’s service-life limit | Milkings, months or both, with the source |
| Installation date | Date fitted |
| Milkings or cycles recorded | Running total |
| Inspection date and result | Pass, watch or replace |
| Replacement date | Date removed |
| Next planned review | Calculated date |
| Operator or technician notes | Reason for any early change |
Records let different operators make the same decision, show whether sets are being changed early, and give a technician a history to work from.
How to Know When a Liner Needs Attention Before Its Scheduled Replacement
Do not keep a damaged liner in service until its due date. Teagasc notes that worn liners reduce milking performance and can increase teat-end damage and the spread of mastitis-causing bacteria, so waiting for a calendar date adds risk. Replace on loss of elasticity, hardening, cracks, rough or pitted surfaces, or any damage the manufacturer lists, and log the change as premature. If wear comes with vacuum loss, cup slip or slow milking, use our milking machine troubleshooting guide. Always fit liners specified for your cluster.
Common Cleaning and Recordkeeping Mistakes
- Letting milk residue dry before rinsing
- Using chemicals not made for dairy equipment, or measuring by eye
- Ignoring the manufacturer’s instructions
- Not recording the installation date
- Tracking calendar dates while ignoring a stated milking limit
- Fitting liners that are not specified for the cluster
- Not logging premature replacements
Frequently Asked Questions
How often should a milking machine be cleaned?
Clean it after every milking, before residue dries. Intensive washes vary by source. DairyNZ’s example routine lists an acid wash after every milking and an alkali wash at least twice a week, while Teagasc guidance recommends a weekly acid descale. Follow your machine and chemical manufacturer’s schedule.
How do you clean milking machine liners?
Pass rinse, detergent, post-rinse and acid solutions through the liner in the order your machine manual gives. Then hang the parts to drain and dry.
Which cleaning products are used for milking machine components?
Milking machine components are typically cleaned using a suitable dairy-approved alkaline detergent to remove milk fat and protein residues, and an acid cleaner to help remove mineral deposits. A sanitizer may also be required before the next milking, depending on the equipment manufacturer’s instructions and dairy hygiene requirements. Always follow the product label for dosage, water temperature, contact time and rinsing instructions. Never mix cleaning chemicals, and use only products approved for the intended equipment.
What do you clean a milking machine with?
Use products made for dairy equipment, dosed exactly as the label and your machine manual direct. A typical routine uses water for rinsing, an alkaline detergent for the wash, an acid product for the acid rinse, and a sanitizer before milking where required. Do not mix products or substitute general cleaners.
How do I calculate a liner replacement date?
Divide the manufacturer’s limit by the milkings each unit performs per day (cows milked × milkings per day ÷ units). If the manufacturer gives both a milking count and a time limit, plan to whichever arrives first, and set the review date earlier.
Conclusion
A consistent cleaning routine and a documented liner schedule make milking machine care repeatable. MILKY by Mahesh Eng. Works is a dairy equipment manufacturer and exporter based in Gandhinagar, Gujarat. To explore options, see our range of portable and automatic milking machines for cows and buffaloes. Keep the liner and cleaning instructions for your specific model alongside your logs.

MILKY BRAND
Mahesh Panchal
CEO | Dairy Equipment Manufacturer & Exporter at Mahesh Eng. Works
Mahesh Panchal brings over 30 years of experience in the dairy machinery industry. At Mahesh Eng. Works, he is associated with dairy machinery manufacturing, milk processing equipment and dairy equipment exports. The company’s blog shares practical insights to help dairy farmers, milk processors and businesses understand dairy equipment and milk processing solutions.