

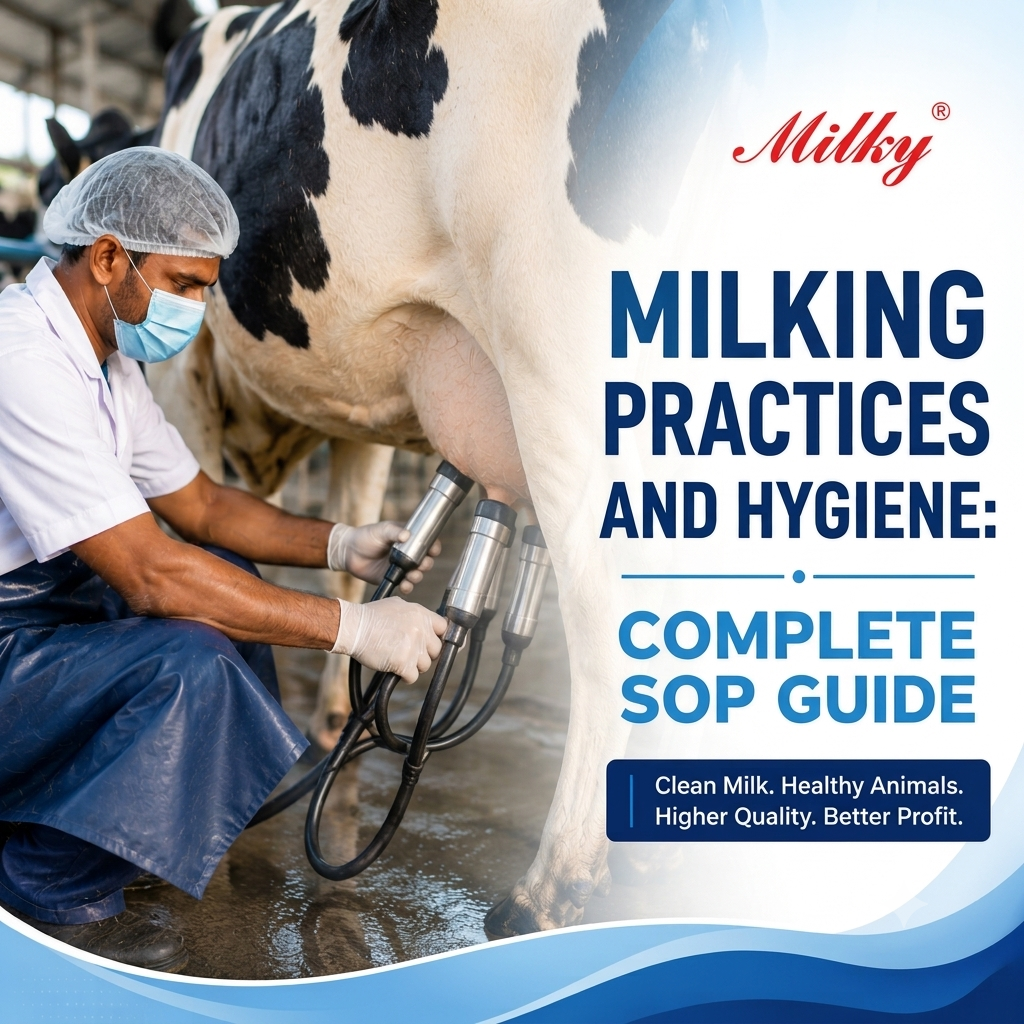
Proper milking practices and hygiene mean following a consistent Standard Operating Procedure clean udder preparation, sanitized equipment, disciplined pre- and post-dipping, and correct milk cooling every single time milking happens. This routine is the single biggest lever a farm has over milk quality, shelf life, and mastitis rates, because most contamination and udder infection enters at the point of milking, not later in storage or transport.
Introduction
Ask any experienced dairy farmer what separates a profitable herd from a struggling one, and hygiene during milking is almost always part of the answer. It’s not glamorous work, and it’s easy to cut corners when you’re milking 40 or 100 animals twice a day. But the gap between “acceptable” milk and “premium grade” milk is usually decided in those five minutes per animal at the milking point not in the bulk cooler, not at the collection center.
This guide lays out a practical, field-tested SOP for milking hygiene, covering both manual and milking machine, so you can reduce mastitis, cut contamination, and consistently produce milk that meets buyer and cooperative quality standards.
What Are Milking Practices and Hygiene?
Milking practices and hygiene refer to the combined set of procedures, cleanliness standards, and worker behaviors applied before, during, and after milking to protect udder health and prevent microbial contamination of milk. This includes udder preparation, teat disinfection, equipment sanitation, milker hygiene, and rapid cooling of the collected milk.
In practical terms, it’s the answer to one question: does milk leave the animal’s udder as clean as physically possible, and does it stay that way until it reaches the next stage of the supply chain?
Why Proper Milking Hygiene Matters
Poor milking hygiene has a compounding effect across the farm business, not just a food-safety effect.
- Mastitis risk rises sharply. Bacteria on teat skin or milking equipment is the most common entry point for udder infections.
- Milk quality parameters degrade. Somatic cell count (SCC) and total bacterial count both climb when hygiene lapses, which affects grading and payment at many cooperatives.
- Shelf life shortens. Contaminated milk sours faster, even with refrigeration, because the initial bacterial load determines how quickly spoilage organisms multiply.
- Treatment and culling costs increase. Chronic mastitis cases often end in early culling of otherwise productive animals.
- Buyer trust and pricing suffer. Cooperatives and processors increasingly grade and price milk based on SCC and bacterial load, so hygiene has a direct line to farm revenue.
Standard Operating Procedure (SOP) Before Milking
- Prepare a clean, calm environment. Milking parlors or areas should be swept and free of manure before animals enter.
- Wash hands and wear clean clothing. Milkers should not move directly from feeding or cleaning duties to milking without washing up.
- Inspect the udder visually. Check for swelling, redness, or abnormal discharge signs of possible mastitis before touching the udder.
- Perform forestripping. Strip 2–3 streams of milk from each quarter into a strip cup. This clears bacteria-laden milk from the teat canal and helps you spot clinical mastitis (clots, watery milk, discoloration) early.
- Clean the udder and teats. Use a clean, damp cloth or approved udder wash one cloth per animal, never shared — to remove visible dirt.
- Pre-dip teats. Apply a pre-milking teat disinfectant, let it sit for the recommended contact time (usually 20–30 seconds), then dry each teat with an individual paper towel or single-use cloth.
- Dry teats completely. Moisture left on the teat dilutes disinfectant residue and can carry bacteria straight into the milking unit or bucket.
SOP During Milking
- Attach the milking unit (or begin manual milking) within about 60–90 seconds of udder stimulation, when milk let-down is active this improves milk-out efficiency and reduces machine-on time.
- Check unit alignment and vacuum function regularly; a poorly aligned cluster causes liner slip, which draws in air and contaminants.
- Avoid overmilking. Once flow slows to a trickle, remove the unit leaving it on an empty udder damages teat tissue and raises infection risk.
- For manual milking, use the full-hand (fist) technique rather than “stripping” with fingers and thumb, which can injure teat tissue over time.
- Milk animals in a consistent order healthy animals first, known mastitis or treated animals last to avoid cross-contamination.
- Check unit alignment and vacuum function regularly; a poorly aligned cluster causes liner slip, which draws in air and contaminants. If you’re seeing inconsistent milk-out or unusual noise from the unit, our milking machine troubleshooting guide covers the most common causes.
SOP After Milking
- Post-dip immediately. Apply a post-milking teat disinfectant to each teat within seconds of unit removal, while the teat canal is still open.
- Do not let animals lie down immediately. Keep animals standing for 20–30 minutes after milking (feeding works well) so the teat canal has time to close.
- Transfer milk to clean containers promptly. Whether it’s a milk cans or a bulk tank, milk should move out of the collection vessel and into cooling as fast as possible.
- Cool milk rapidly. Milk should be brought down toward 4°C as quickly as your cooling setup allows; the longer milk sits warm, the faster bacteria multiply. A properly sized bulk milk cooler is one of the most effective single investments a farm or collection center can make for milk quality, since it removes the delay between milking and cooling that manual can-and-ice methods often can’t avoid.
- Clean all milking equipment immediately after use don’t let residue dry onto surfaces.
Personal Hygiene for Milking Staff
- Wash hands with soap before milking and after handling any sick or treated animal.
- Keep nails trimmed short; long or dirty nails harbor bacteria and can injure teat skin.
- Wear clean, dedicated milking clothing not the same clothing used for feeding, bedding, or manure handling.
- Cover cuts or wounds on hands with waterproof dressings.
- Avoid milking while visibly ill, especially with gastrointestinal symptoms.
Manual vs Machine Milking Hygiene
| Factor | Manual Milking | Machine Milking |
|---|---|---|
| Contamination source | Hands, cloths, buckets | Liners, hoses, clusters, vacuum lines |
| Speed | Slower, more labor per animal | Faster, more consistent milk-out |
| Hygiene control point | Milker’s hand and nail hygiene | Equipment cleaning and sanitization SOP |
| Risk if neglected | Teat injury from poor technique | Biofilm buildup inside liners/hoses |
| Best suited for | Small herds, limited capital | Medium to large herds, collection centers |
Neither method is inherently more hygienic — each has its own failure points, and the SOP needs to target those specifically.
Milking Machine Cleaning and Sanitization SOP
- Rinse immediately after milking with lukewarm water to remove milk residue before it dries.
- Circulate an alkaline (chlorinated) detergent wash through the system at the temperature and duration recommended by the equipment manufacturer.
- Follow with an acid rinse periodically to remove mineral deposits and milkstone buildup, which shelters bacteria.
- Final rinse with clean water to remove all detergent and acid residue.
- Inspect liners, gaskets, and hoses regularly for cracks or wear — these small imperfections create hiding spots for biofilm that routine washing won’t remove.
- Air-dry components between milkings rather than leaving them wet.
- Replace rubber liners on the manufacturer’s recommended schedule, since worn rubber holds bacteria regardless of how well it’s washed.
Daily Milking Hygiene Checklist
| Task | Before Milking | During Milking | After Milking |
|---|---|---|---|
| Clean milking area | ✔ | ||
| Wash hands / wear clean clothing | ✔ | ||
| Visual udder inspection | ✔ | ||
| Forestripping | ✔ | ||
| Udder/teat cleaning | ✔ | ||
| Pre-dip and dry teats | ✔ | ||
| Correct unit attachment timing | ✔ | ||
| Monitor for overmilking | ✔ | ||
| Post-dip teats | ✔ | ||
| Keep animals standing 20–30 min | ✔ | ||
| Rapid milk cooling | ✔ | ||
| Equipment rinse and wash | ✔ |
Common Milking Hygiene Mistakes and How to Avoid Them
- Skipping forestripping to save time. This is often where early mastitis is caught — build it into the routine, not an optional extra.
- Reusing the same cloth across animals. Switch to single-use paper towels or a clean cloth per animal to stop cross-contamination.
- Delaying milk cooling. Even 30–60 minutes of delay at ambient temperature allows bacterial counts to climb; invest in cooling capacity that matches your herd size.
- Ignoring worn liners and hoses. Cracked rubber is a bacterial reservoir that no amount of washing fully cleans — replace on schedule.
- Inconsistent post-dipping. Skipping post-dip “just this once” is how infections spread through a herd during the highest-risk window right after milking.
- Milking infected animals first or mixing them in randomly. Always milk known mastitis or treated animals last, and ideally with separate equipment.
Best Practices to Prevent Mastitis
- Forestrip and visually check every quarter, every milking, without exception.
- Maintain consistent pre-dip and post-dip protocols with proper contact time.
- Keep milking equipment well-maintained — correct vacuum levels and pulsation rates matter as much as cleaning.
- Monitor SCC trends through your cooperative or a private lab, and investigate any sustained rise.
- House animals in clean, dry bedding to reduce environmental exposure to mastitis-causing bacteria between milkings.
- Isolate and treat clinical cases promptly rather than waiting to see if they resolve on their own.
Frequently Asked Questions
What is the correct SOP for hygienic milking?
Clean and inspect the udder, forestrip, pre-dip and dry teats, milk efficiently without overmilking, post-dip immediately, keep animals standing briefly, then cool the milk rapidly and clean all equipment.
Why is forestripping important?
It clears bacteria from the teat canal opening and lets you catch early signs of mastitis — clots, discoloration, or watery milk — before the animal is fully milked.
How long should pre-dip stay on the teat?
Most pre-dip disinfectants need about 20–30 seconds of contact time before being wiped dry; check the specific product label.
What causes mastitis in dairy animals?
Bacterial entry through the teat canal, usually from contaminated milking equipment, dirty bedding, poor hand hygiene, or teat injury.
How often should milking machine liners be replaced?
On the schedule set by the equipment manufacturer, since worn rubber develops micro-cracks that harbor bacteria even after washing.
What temperature should raw milk be cooled to, and how fast?
Milk should be cooled toward 4°C as quickly as possible after milking; delays in cooling are one of the biggest drivers of bacterial growth.
Is manual milking more hygienic than machine milking?
Neither is automatically more hygienic — manual milking depends heavily on milker hand hygiene, while machine milking depends on equipment cleaning discipline.
What is SCC and why does it matter?
Somatic Cell Count measures white blood cells in milk, which typically rise during udder infection; it’s a key indicator of udder health and milk quality used for grading.
Should treated or mastitis-affected animals be milked separately?
Yes — milk them last, ideally with dedicated equipment, to avoid spreading infection to healthy animals.
What’s the single biggest hygiene mistake farmers make?
Delaying milk cooling after milking, which allows bacterial counts to rise quickly regardless of how clean the milking process itself was.
Conclusion
Milking hygiene isn’t one big decision it’s dozens of small, consistent habits repeated at every milking, every day. Farms that treat udder prep, dipping, equipment cleaning, and rapid cooling as non-negotiable routine tend to see the payoff in lower mastitis rates, better SCC scores, and stronger milk pricing over time. Building this SOP into your team’s daily rhythm is one of the most cost-effective quality investments a dairy operation can make.

Mahesh Eng. Works
Written and reviewed by Mahesh Eng. Works, a dairy machinery manufacturer specializing in milk cream separator machines and hygienic stainless steel dairy equipment. Since 1980, we have been designing and manufacturing cream separators, butter churners, milk pasteurizers, bulk milk coolers, and complete dairy processing solutions for dairy farms, milk collection centers, and processing plants.